
Welcome to our Halo: Campaign Evolved All Skulls & Terminals Locations Guide!
This guide will walk you through every skull and Terminal found in the game. There is one Terminal per mission and three skulls per mission. None of them are missable and can be cleaned up at any time via chapter select. You can even choose which point of the mission you’d like to start at. As soon as you interact with a Terminal or pick up a skull, they will be marked as completed. You can die or quit the level and you’ll still have them. So the game is very generous in terms of collectibles.
The skulls are not only needed for the collectible Trophies, but you will also need them for other Trophies as well. Each skull acts as a gameplay modifier. Once you’ve collected a skull you can then turn on their effects when choosing what mission to play.
There are also skulls and Terminals in the three new missions that you will need to collect, not just the original 10 missions from the base game.
Original Game Missions
- The Pillar of Autumn
- Halo
- Truth and Reconciliation
- The Silent Cartographer
- Assault on the Control Room
- 343 Guilty Spark
- The Library
- Two Betrayals
- Keyes
- The Maw
Bonus Missions
The Pillar of Autumn
Rally Point Alpha
Skull – Speed Limit
This can be picked up as soon as you gain control of Master Chief. From where you start, go to the back of the room and jump onto the two cylindrical tanks. If you can make it on them, try jumping to them from the computer console nearby. Once you’re on the tanks, jump to the catwalk and go to the very end to find the skull.


Skull – Magnified
Progress through the mission until you come to the scene with the blue elite. Right after that scene, you’ll come to an area where a group of marines are fighting. Go into the room directly across from you and look up on the center console in the middle of the area to find the skull up top.

Rally Point Bravo
Skull – Perspective
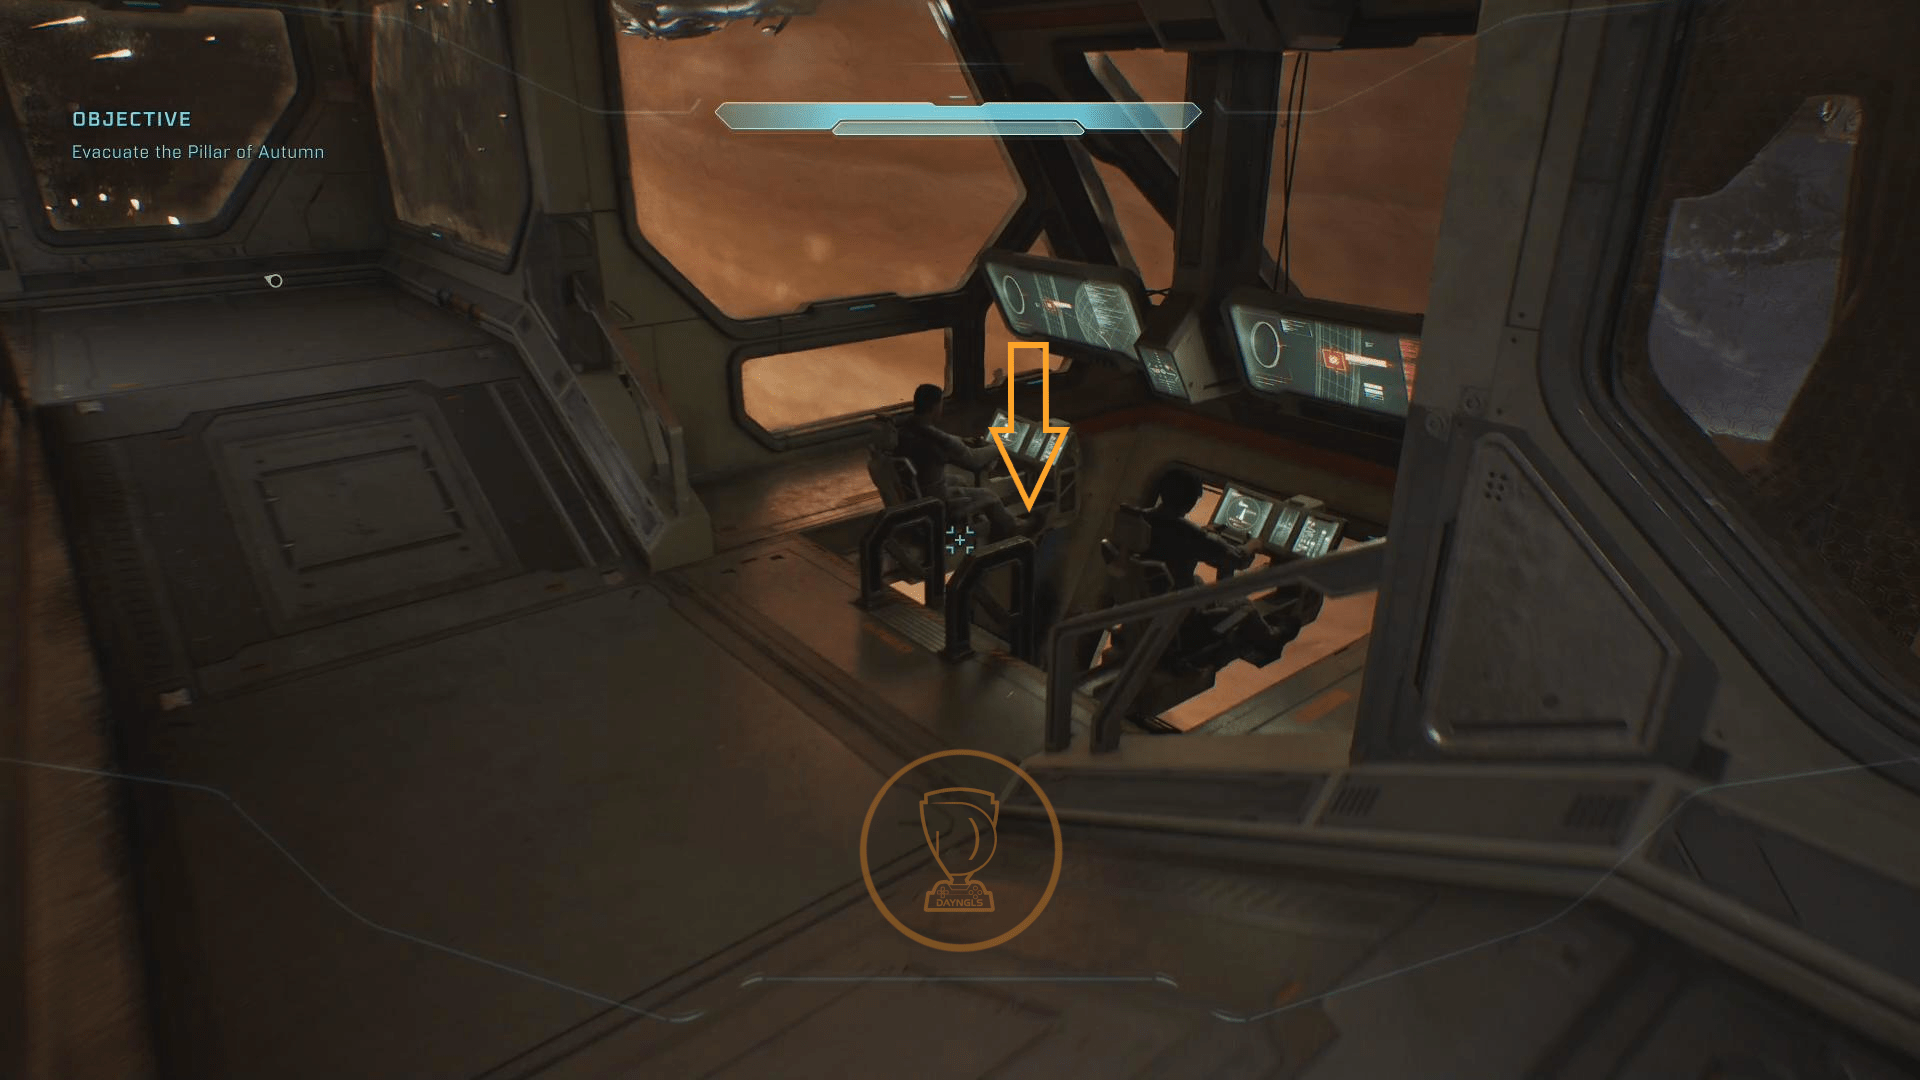
After meeting with Captain Keyes, go back to where you were speaking to him during the cutscene and then to the cockpit area just behind where the captain is standing. Drop down a level to find this skull next to the ladder.
Rally Point Charlie
Terminal – Approach
Continue through the mission until you are evacuating the Pillar of Autumn. You will eventually pass through the control room that was overlooking the area where you first gained control of Master Chief. There will be a big broken window on your right. As soon as you exit that small control room, take the immediate left to enter another room. This one will be directly behind the control room. The terminal will be in the back right side.


Halo
Rally Point Bravo
Terminal – Forgotten
After getting the Warthog for the first time, you’ll have to pass through a tunnel. After the first ramp in the tunnel, hop out of the Warthog and go over to the right side. Jump up on the ledge and slowly inch off to drop. There is a ledge just below that has the Terminal on it. If you load in from Rally Point Bravo, you will need to turn around and backtrack just a little bit.


**The next area can be done in any order. You’ll have three objective markers that you’ll need to clear out. Go about them in whichever order you like. For this guide, I’m just going to go clockwise around the map.**

Rally Point Charlie
Skull – Grunt Funeral
Starting with left most objective marker, head to the big structure in the middle. The skull is up on the big structure, but you’ll need to do some platforming to reach it. Along the middle of the structure, there is a narrow ledge that runs up the tower diagonally. You need to walk up the ledge to about the middle. About halfway up, there is a small ledge just a few ticks higher that you can jump on. It is in the middle of the tower. When standing on that second ledge, you will need to throw a grenade below you. Then, you need to jump right before the grenade explodes so that the force of the explosion, pops you up a little bit higher. This is called a grenade jump in the Halo series. It might take a few tries to get the timing of the grenade jump just right. The skull is on the higher ledge across from you. When timed right, the grenade jump will bounce you up a bit to that third ledge.


Skull – Give & Take
When heading for the middle objective, you should notice a small river running in the same direction as the middle objective marker. Follow that river and it will eventually split left and right. You need to follow this split right. Keep following it and it will lead you into a cavern. Stop about in the middle next to some bigger boulders on your left. The skull is up on those boulders.


Skull – Floor is Lava
This is found at the right most objective marker. In the backside of the area, there are two cliffs with grass on them. You’ll need to jump from the edge of the cliff with grass on to a smaller, rocky cliff. The spot where you jump will be overlooking the objective area toward where you entered the area as well as the crash debris. The skull is on the smaller rocky cliff.


Truth and Reconciliation
Rally Point Alpha
Skull – Iron
This skull is found in the area with the grav lift. Make sure to pick this up before taking the grav lift up. There are two trees that are behind the grav lift. After clearing the enemies, more marines will be dropped off in-between those two trees. Head over to that spot where the marines were dropped off. Slowly inch your way over to the edge of the tree closest to the edge. On the left side of that tree, look over the edge of the map. You should be able to see the skull down below. Slowly inch yourself over the edge and land next to the skull to reach it.


Rally Point Bravo
Skull – Endurance Spec
Progress through the hallways until you reach a room where you are on the second floor. The walkway will wrap around to the other side of the room. There are three pillars on the opposite side of the room. The skull is on the third pillar. You will need to use the Acrophobia skull in order to reach this one. That skull will allow you to glide over and grab this one. So come back when you have the Acrophobia skull. Climb on to the debris by the ledge and then jump and hold  to fly across. This one is tricky and the gliding doesn’t control very well, but it is easier than having to manually jump all the way over.


Skull – Foreign
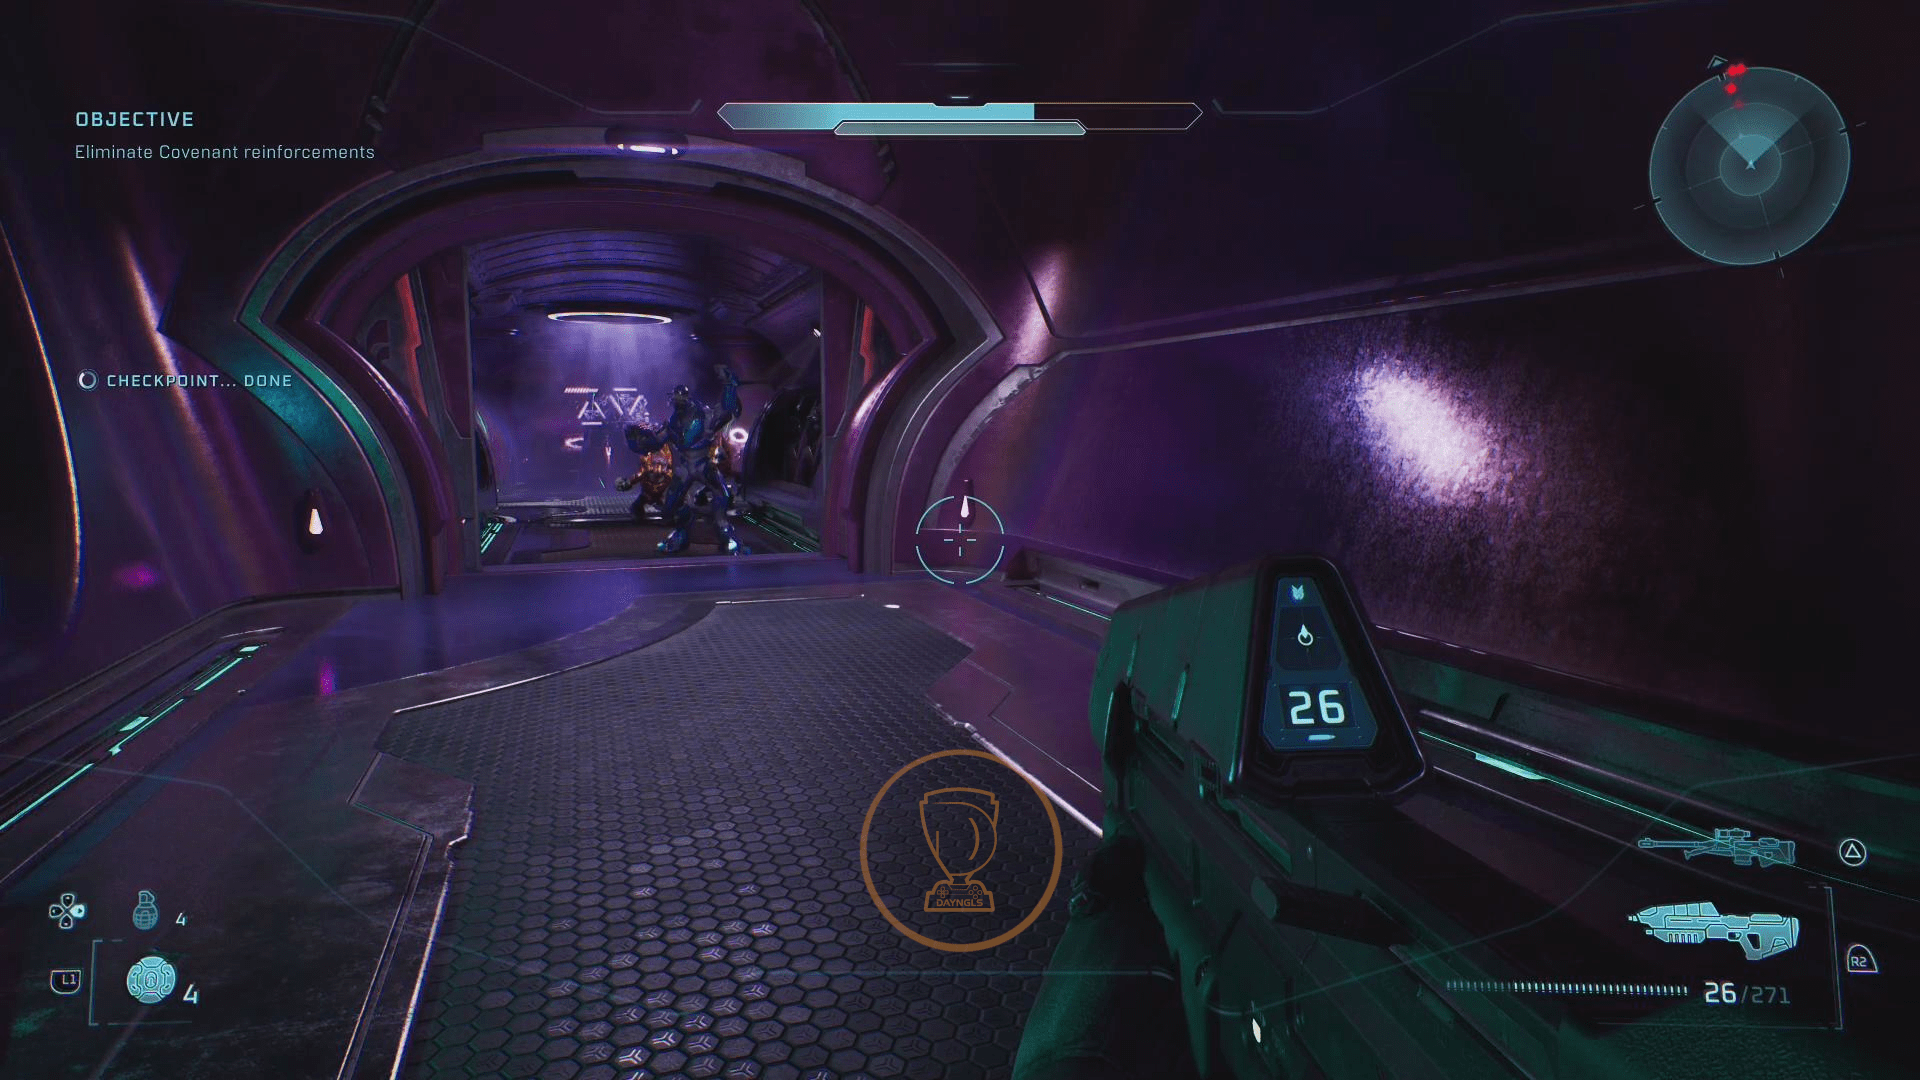
Make your way through the mission until you reach the next big combat room. A Covenant drop ship will take off as you enter the room. Once there, quickly get over to the door in the back right corner OR the door in the front right corner. It will be locked, so you need to wait for enemies to come through it. When they do, enter the room to find the skull. Make sure to get to the door quickly so that you don’t miss the enemies spawning. If they aren’t coming out, kill some enemies, but make sure to keep an eye on the door. The skull is on the floor on the left side of the monster closet. If you enter through the front right, you can take the hallway inside down to the far end to find the skull.


Rally Point Charlie
Terminal – Inquisitor
When looking for Keyes’ cell, you’ll exit the hallways and into a small room that has doors on all sides of the room. One on your right three on the wall opposite of where you enter and then an open one in the top left corner. For the Terminal, you need to enter the door on your right. Follow the hallways and you’ll come to a room with prison cells. Interact with the device in the center of the room to open the cells. This Terminal is found in the cell with the dead marine.


The Silent Cartographer
Rally Point Alpha
Skull – Bandana
This is found a cave just outside of the tower that leads to the Map Room. It’s on the ground in a sunny section of the cave.

Rally Point Bravo
Skull – Acrophobia
This is found on top of the structure where you will encounter the two hunters when looking for the system’s override substation. Go to the backside of the structure and jump on the thin ledge that runs up it along the side. Follow it all the way to the top to find the skull.

Terminal – Status Update
This is found in the same room as the system override. Go past the device you need to interact with and head to opposite side of the room. Go to the very end and then turn around to see this Terminal.


Rally Point Charlie
Skull – Hip Fire
Right after killing the two hunters when looking for the Silent Cartographer, you’ll have to go down a ramp that winds around to a lower area. Before going down that ramp, look over the side of it and you should see this skull down below. You will need to walk off the edge of this walkway to land where the skull is.


Assault on the Control Room
Rally Point Bravo
Take the Scorpion when given the opportunity. You will need it reach the next skull.
Skull – IWHBYD
Take the Scorpion and drive it into the tunnel. Keep going until you open your first door. There will be a bridge in the following room. Drive across the bridge and then go all the way to the left wall. Go to the very end. Park the Scorpion as close to the snowy wall as you can. Get out and climb up to the top of the Scorpion. Jump from the tank over to the snowy rock wall to find this skull.


Rally Point Charlie
Terminal – Tangent I
Continue on through the mission and you’ll go through an ice cave. As you exit that cave, there will be a tower ahead of you. There are doors on the left and right side of that tower. You can go in either one. Once inside, go up the ramp. At the top of the ramp, go right to find this Terminal at the end of the walkway.


Skull – Angry
After going through a small cave, you’ll come out the other side with the objective marker on your right. There will be a structure over a big gap down the middle. Walk along the right side of that structure in the middle and climb up the third structure and got on top of it to find this skull up there.


Rally Point Echo
Skull – Cowbell
Progress through the mission until you reach a walkway that will have two Banshees parked. Cortana will tell you you can use them to reach the objective. Before doing that though, Look to the left behind where the first Banshee is parked. There is a big pillar. Walk over to that edge and drop down onto the pillar. Walk on the pillar under the bridge you were just on to find this skull.


343 Guilty Spark
Rally Point Alpha
Skull – Fog
This is found at the very beginning of the mission. As you start to head toward the objective marker, you’ll see a crashed Covenant drop ship straight ahead. Turn left before reaching this ship to head up a hill. As you go up the hill, there will also be two huge trees on your right. Go to the second tree. You need get behind the second big tree on your right to find this skull on a dirt hill.


Rally Point Bravo
Skull – That’s Just Wrong
This skull will actually be on the story path. You will eventually enter a room where a scared marine will yell at you. Shoot and kill him and he will drop this skull.

Terminal – Tangent II
When trying to escape, you’ll enter a room that has a light bridge on the left, and then a small gap on the right with a door. Covenant enemies will come through the door on the right. Deal with the enemies and jump over that gap and enter the room the Covenant came out of. There will be dead marines in the narrow hallway. At the end of the hallway, but before going through the door, turn right and then right again to see this Terminal down another narrow hallway. It runs parallel to the one with the dead marines.


Rally Point Charlie
Skull – They Come Back
At the end of this mission, you’ll need to lead the marines to an evac point. When you reach the marker, there will be a tower in front of you. Go to the right of that tower and head straight back. Keep going until you see a log that is laying across two ledges. Climb up the ledge on the left and use the log to cross over to the ledge on the right. Drop down to the left at the end of the log to find this skull. The mission ends when all of the enemies are killed, so grab this before killing them all.


The Library
Rally Point Alpha
Skull – Tilt
Make your way through the mission until the Monitor tells you that you will need to go a different way as there is a door that will not open. Go through the service tunnel. When you come out the other side, go right and climb up on to the slanted pillar next to you. Run up it to the top to find this skull waiting for you.


Rally Point Bravo
Skull – Pop
Continue on until you have to wait for another big door to be opened. From the door, turn around to face the wall opposite of the door. This skull will be up on a ledge in the middle. You can run up either the left or right slanted pillars and then jump over to the skull.


Terminal – Tangent III
From the previous skull location, go through the now opened door and interact with the console on the left first. This will open a door behind the console. Go through the door and shoot the mass in the back of the room that is blocking a hole in the wall. Crouch through the hole and then follow the short path to the end of the next room where this Terminal can be found.


Rally Point Charlie
Skull – Famine
This is found after riding the elevator down that starts Rally Point Charlie. After getting off that elevator, there will be a more narrow service tunnel straight ahead that you will need to go through. As soon as you enter that tunnel, look to your immediate left to find this skull on the ground blending in with the Flood nests on the walls.


Two Betrayals
Rally Point Alpha
Terminal – Alone
This is found right at the very beginning of the mission. As soon as you gain control, turn around and run around to the opposite side of the ring to find the Terminal.

Skull – Tough Luck
Make your way out and down the ramps until you reach the ground in front of the structure you just came from. On the right side, there is a Banshee you can take. Get in it and fly up back toward the tower. There’s a ledge about halfway up that has the skull on it.


Rally Point Charlie
Skull – Black Eye
Continue through the mission until you exit the structures on the ground level. As you exit, the pillars that go over a gap in the middle of the area will be in front of you. It’s where we found the Angry skull earlier. Go over the gap to reach the other side where this skull can be found in the Flood material along the wall. Use the middle pillar to cross over. It will be right from the middle pillar on the other side.


Skull – Mythic
Progress through the area until you come to an area where Flood and Covenant are fighting. The big tower we entered earlier to find the Terminal – Tangent I. On the left side of that tower is a parked Banshee. Hop in it and fly to the top of the tower. Land and then interact with the console up there. This will unlock the door that is directly across from the console. While interacting with the console, you’ll actually be facing where the door is. Get back in the Banshee and fly over to that platform. Enter the door and follow the hallway to a combat encounter. You need to kill all of the enemies in this room. Once they are all dead, go to the opposite side of the room from where you entered. There will be another console. Interact with it and it will unlock the door right next to it. Follow this next hallway and it will lead you to another room full of enemies. Kill all of the enemies in this room once again and the skull will spawn in the center of the room.


Keyes
Rally Point Alpha
Skull – Catch (Heroic Difficulty + Speed Run)
First, you will need to be playing on Heroic difficulty in order to earn this skull. Secondly, you will need to do everything in under 4 minutes. From the very start of the mission, you’re going to need to just sprint by every enemy and make your way to the grav lift objective. You’ll need to clear out the Covenant enemies around the grav lift and then get in it to ride it up. If you made it in time, the skull will spawn on the ground where you land after riding the grav lift. Don’t focus on any combat until you reach the lift. You will need to kill the marked enemies in order to progress. If you die on the way there, you can reload your checkpoint and try again. It appears that reloading a checkpoint may reset your timer, or at least set it back to what it was when you hit the checkpoint.
Rally Point Bravo
Skull – Blind
Shortly after entering the ship from the grav lift, you’ll enter a room the room where we had to glide over to the Endurance Spec skull. As you enter, drop down on the right and enter the door to your right. There will be enemies in here as well as a destroyed vehicle. Jump over the debris and follow the hallway to the end to find this skull on the ground.


Terminal – Consumed
Progress through the mission until you reach the shuttle bay. From where you enter, go left and enter the door straight ahead of you. As you enter the door, you will need to go left, left, right and then another left to find this Terminal.


Rally Point Charlie
Skull – Piñata
After the cutscene with Keyes, turn around when you have control again and melee where Keyes was. You might need to jump and melee higher up on him. Melee him until the skull drops. Make sure you’re actually hitting him.


The Maw
Rally Point Alpha
Terminal – Arrival
As you make your way to the objective, you will eventually pass through the mess hall. It will be lit orange from fires inside and there are a lot of tables in the center. This Terminal is on the right side in the mess hall.

Rally Point Bravo
Skull – Stowed Reload
This is found in the cryo storage room that you will need to pass through. It is on a pillar in the back left corner of the room. You can jump over to it by jumping from the fallen walkway. The pillar is up against the back wall.

Skull – Boom
Make your way to the room with the cores that you need to destroy. As you enter, get up to the top floor where the objectives are. Head over to the opposite side of the top floor from where you entered. Look down to see a platform with a square piece of debris. Drop to that platform. There is a narrow ledge that extends from that platform along the wall toward the other 2 objectives are. The skull is on that narrow ledge.


Rally Point Charlie
Skull – Thunderstorm
This is found during your escape in the Warthog. You will enter a tunnel while driving. On your right, there will be three smaller hallways. They’ll be open doors. You need to enter the third open door on your right while in the tunnel. Get out of the Warthog and pick this skull up off the ground in that third hallway. It will be on your right when the path dips a bit.


Boarding Action
Rally Point Alpha
Skull – Malfunction
Continue through the mission until you fight the two hunters. Staring at the objective marker from where the hunters were, go right. Drop down to where the bigger purple ship is sitting. Go past that ship and through the nearby door. From there, got toward the walkway in the middle of this next room with the orange lights. This skull will be on the walkway just before the orange lights section of it.


Rally Point Bravo
Skull – Johnny Ammo Seed
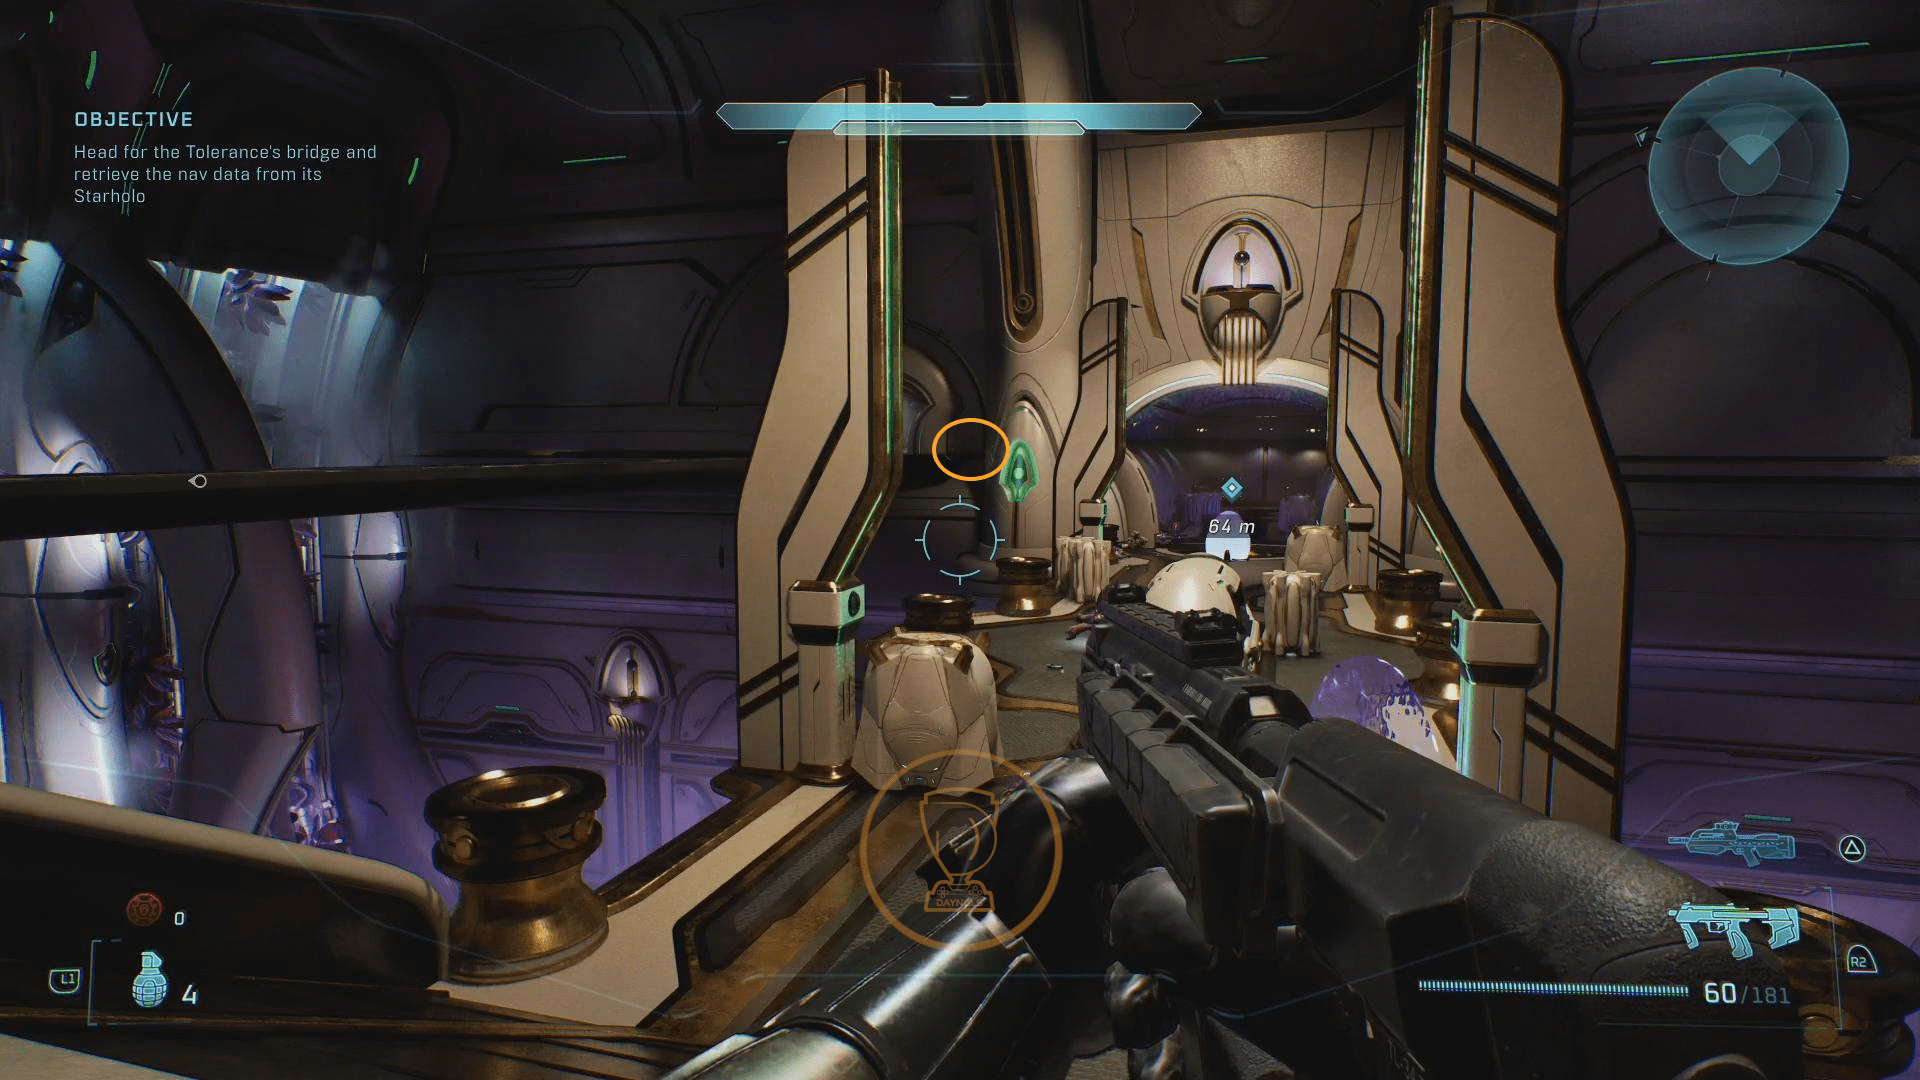
You’ll eventually enter a a big white room that has four stone pillars in it and a purple energy bridge up above. Before following the objective up to that purple energy bridge, you need to get up on the second floor of this room. Once you are, head back toward the way you came. You should see an open doorway on the second level above where you entered this room originally. Go through the open doors and follow the hallway into the bigger room. Once there, go to the walkway that curves around a big stone pillar. This skull is on that curved walkway. You’ll be ambushed as you approach it.


Rally Point Delta
Skull – Leadhead
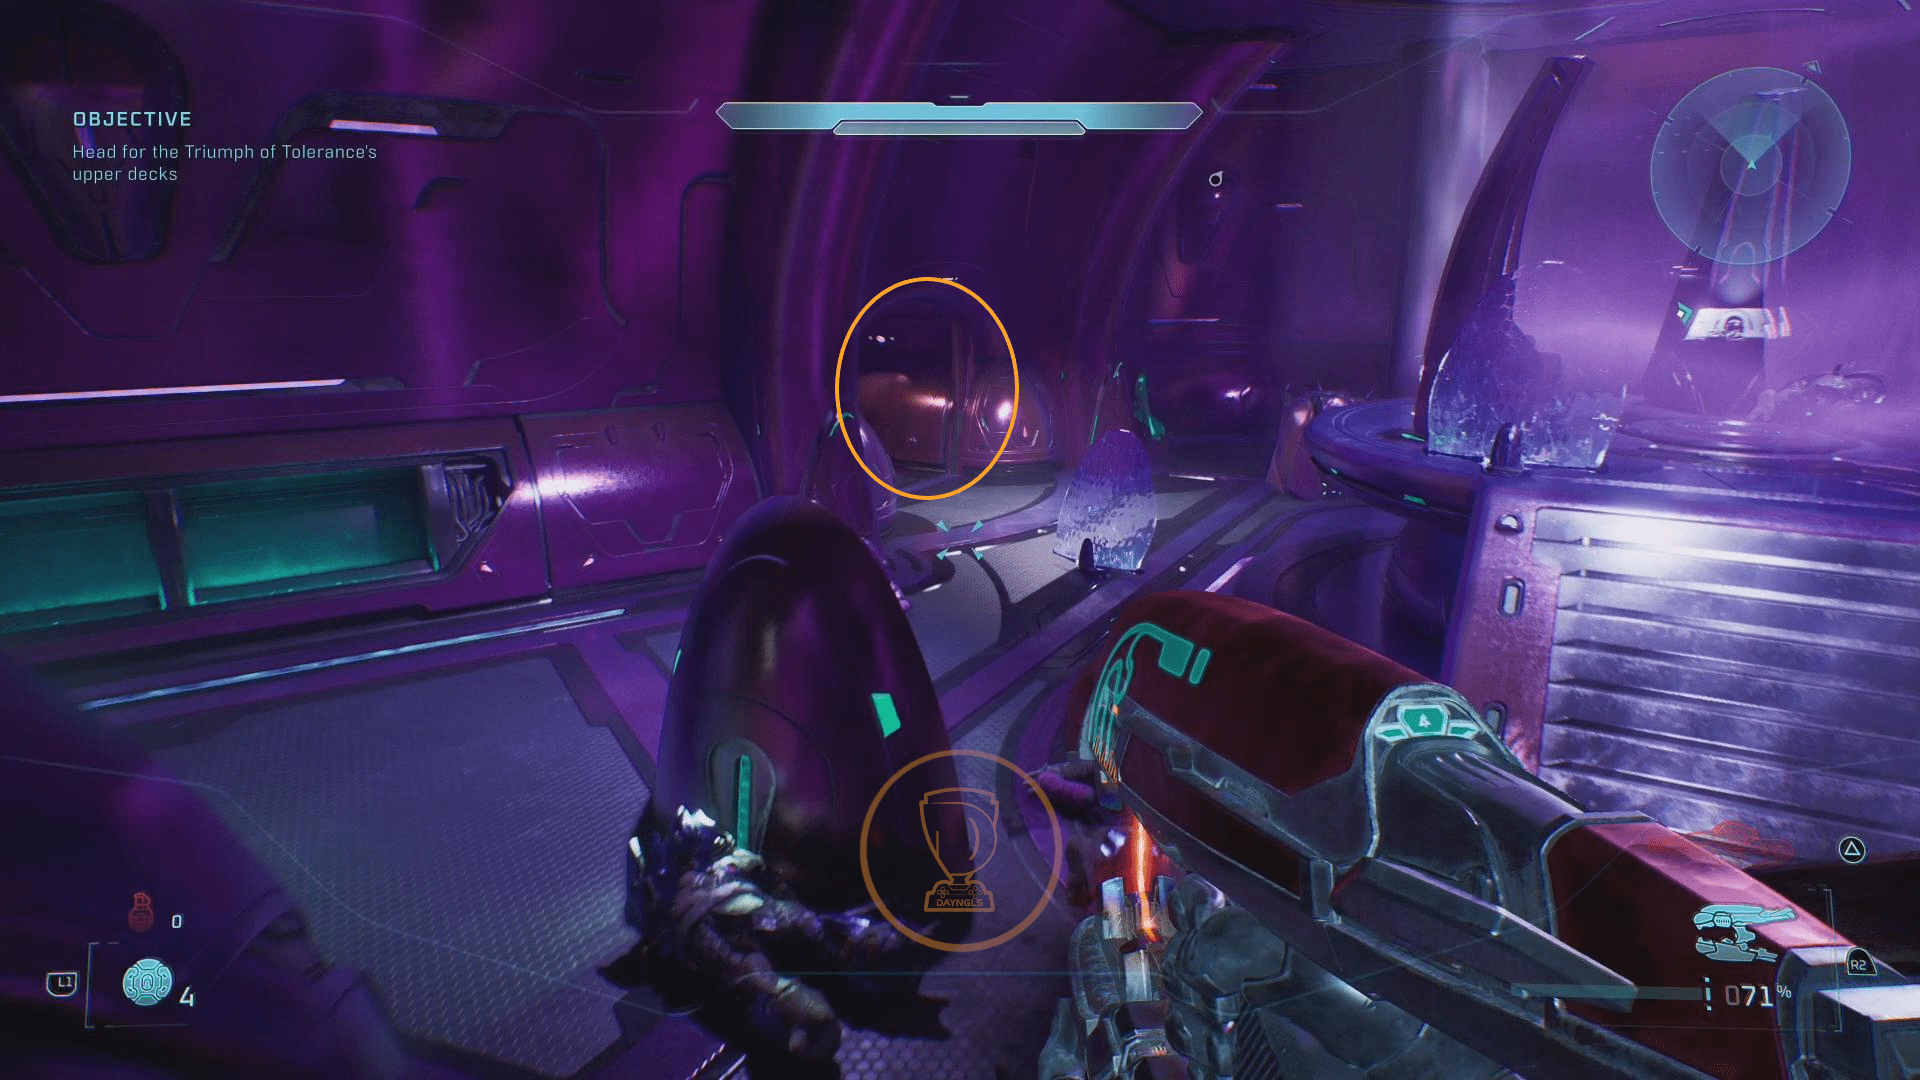
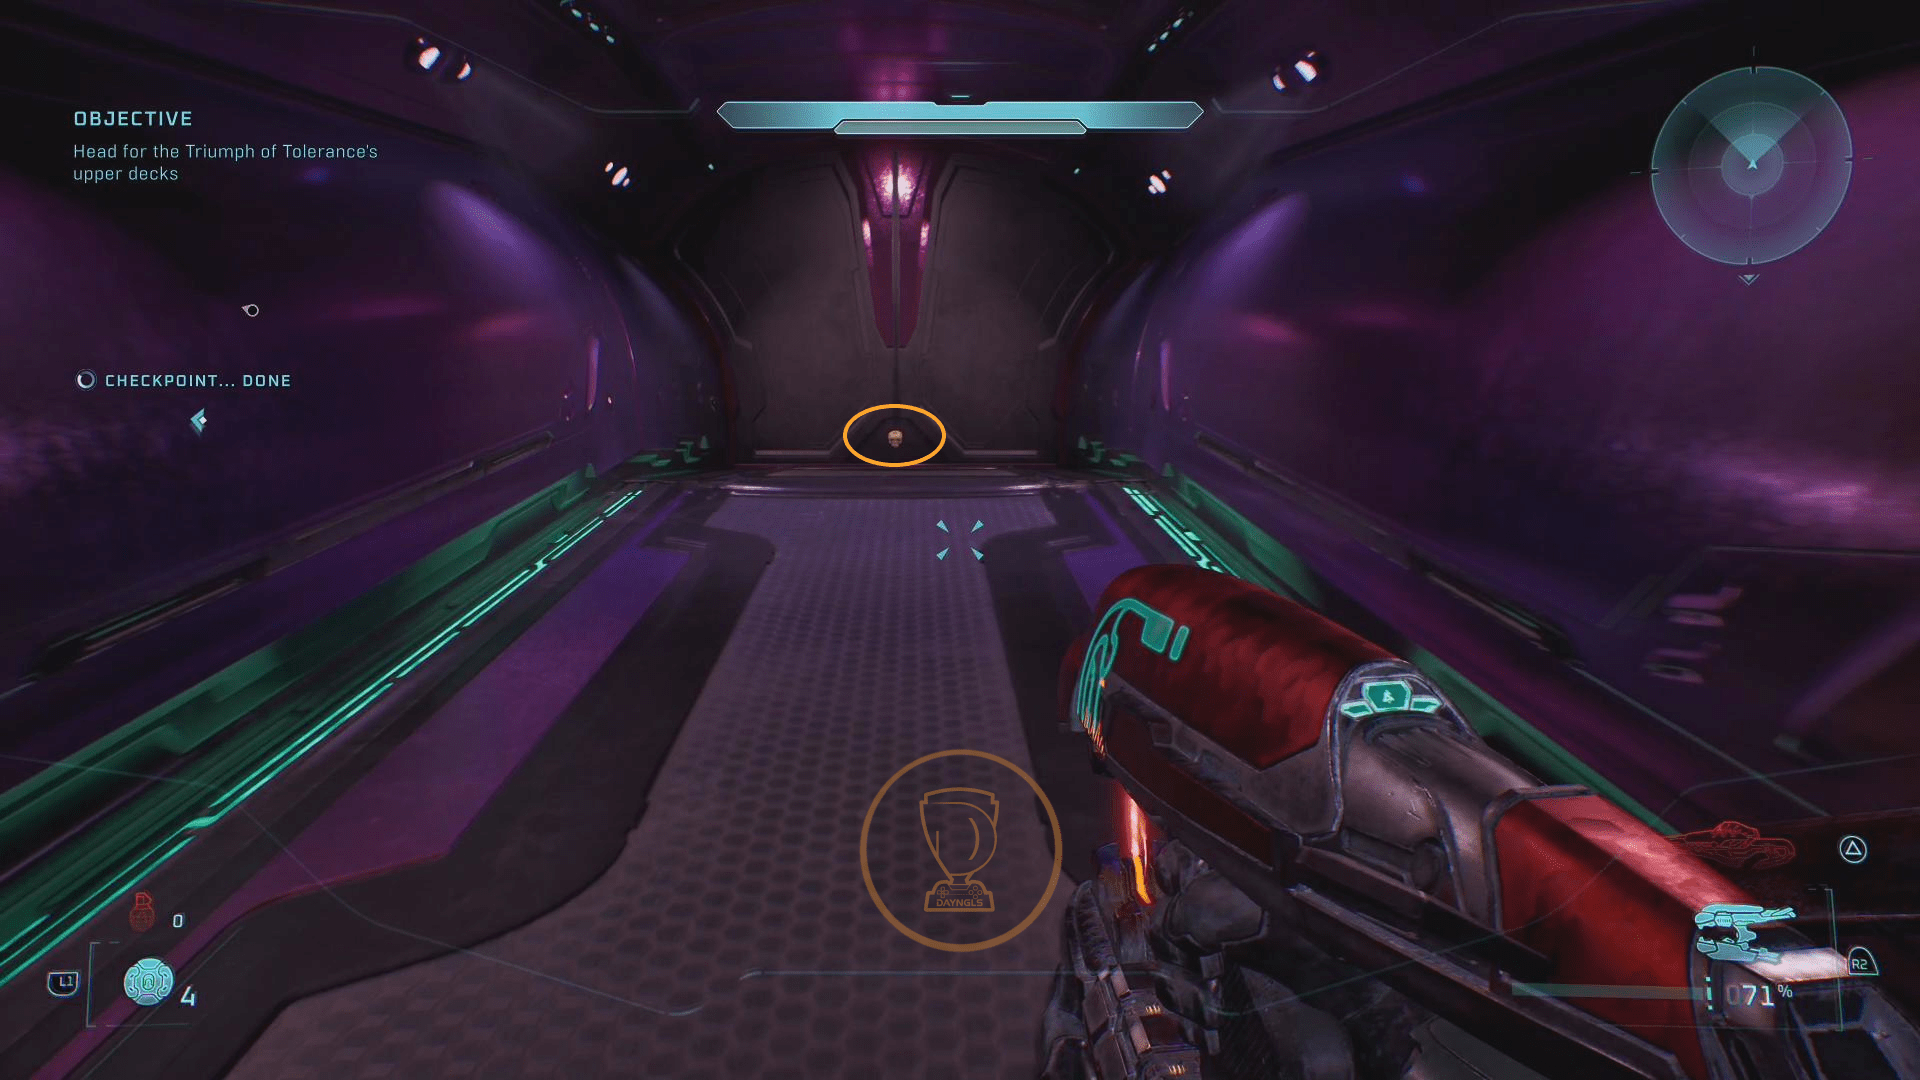
Before taking the grav lift up, drop down and go through the open door to the left of the grav lift. Follow the hallway and then go left to fund this skull at a dead end.
Terminal – The Path
Immedietaly after the previous skull, get in the grav lift and ride it up. As soon as you land, go left and then back to a door in the back corner. Go through the door and the terminal will be right in front of you against the right wall.

The Most Dangerous Game
Rally Point Bravo
Skull – Temperamental (Step 1)
Shortly after meeting up with Williams, the three of you will advance further. You’ll come to an area that has big thick trees that run down the center of the area. On right, there will be a cliff with a gold elite standing up on it in front of a big purple door. You need to shot that elite until his shield breaks. You won’t be able to kill him yet. Just break his shield and he will move positions.


Skull – Recession
In the next area immediately after Step 1. There will be a long purple path through the middle of the area As you approach that path, look over to your right see a sealed building. You’ll also notice that there is a pillar on each side of the door. Look to the top of the pillars and shoot the objects until they explode and light on fire. The skull is found inside. While you’re in that room, grab the sniper rifle and have it ready.

Skull – Temperamental (Step 2)
This takes place in the same area as the Recession skull. Follow that purple path down the middle of the area that leads to a parked wraith. The gold elite will be standing outside of a door past the wraith. Shoot him and break his shield again. He’ll retreat quickly, so make sure you’re landing you’re accurate. Reload your checkpoint if he gets away too fast. Use the sniper rifle from the room with the Recession skull.


Rally Point Charlie
Terminal – Penitent
Progress through the mission until you are inside. Free the marines and continue on. Eventually, you’ll come to a room with pinkish windows along the left wall, a door straight ahead and a door on the right. Enter the door on the right and the Terminal will be right in front of you in the next room.

Skull – Temperamental
Shortly after the previous Terminal, you’ll make your way back outside. As soon as you step outside, look up to the left to see the gold elite one more time. Shoot him to break his shield one last time. If you broke his shield in the three previous locations, the skull will spawn here after you’ve cleared the are of all enemies. The skull will spawn in the purple pillar. You’ll need to jump up on the pillar to grab. It’ll be in the middle of it, in the glowing energy.


Rally Point Delta
Skull – Ghost
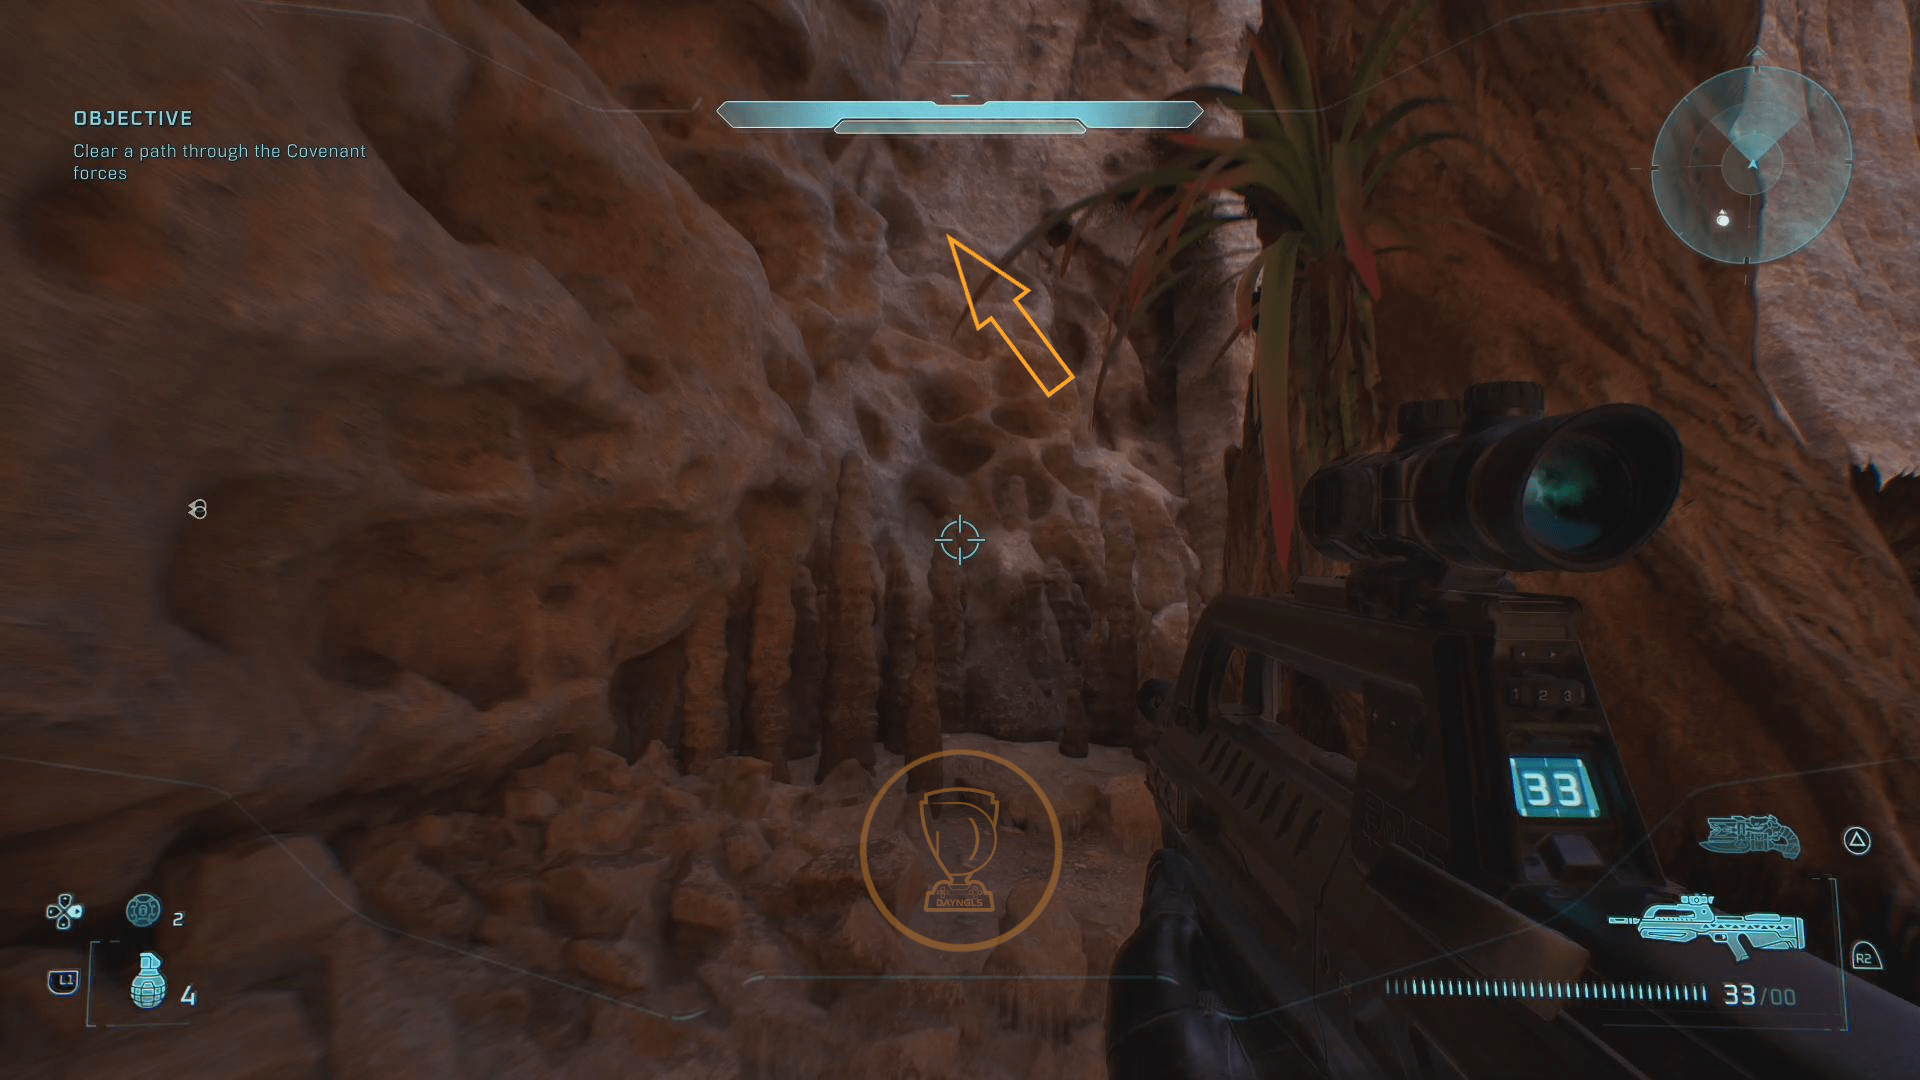
This one is tricky to reach. Progress through the chapter and ride the energy bridge over. You’ll come to an outdoor small canyon like area with platforms that have a greenish colored gas coming off of them. This skull is above you as you enter the area. It will be on top of the door you used to enter. In order to reach it, you’re going to need to do some very tricky platforming. As you enter and head forward, there will be a tree on your left. You need to get behind that tree and jump on the wall. There are some not so obvious ledges on this wall that you can jump on. Jump on these as best you can and make your up to the purple fire. This skull is in the purple fire. The platforming is tricky, but I couldn’t find another way up. I tried using the Acrophobia skull, but the impact kept killing me.



Heavy Burden
Rally Point Alpha
Skull – Eye Patch
Make your way through the mission until you reach a room with a bridge full of enemies. Before crossing the bridge to the objective, look to the left to see a second bridge a little higher. Go through the door across from the door you entered this room and follow the path across that higher bridge. The skull is at the end of the higher bridge next to the locked door.
Rally Point Bravo
Terminal – Harmonious Clarity
In the room with the big hologram of the planet, head straight to the back of the room on the first floor. There are two doors back there. Go through either of them. The both lead to the same place. Keep going through doors until you reach the final room. Head to the left side of that room to find the Terminal.


Skull – Grunt Birthday Party
Continue through the mission until you come to a big room with multiple floors. You’ll enter the room on the third floor. Walk along the left side hallway and look to the right. You should see a circular platform in the middle. Jump to that platform. From there, look for the thin stone pillar standing up near by. You need to jump to that from the circular platform. You jump from the pot of purple fire over to the stone pillar. Use a sprint jump from the purple fire to reach the stone pillar. You won’t be able to get on the very top of the pillar, so you’ll need to jump and grab this.

Rally Point Charlie
Skull – Efficient
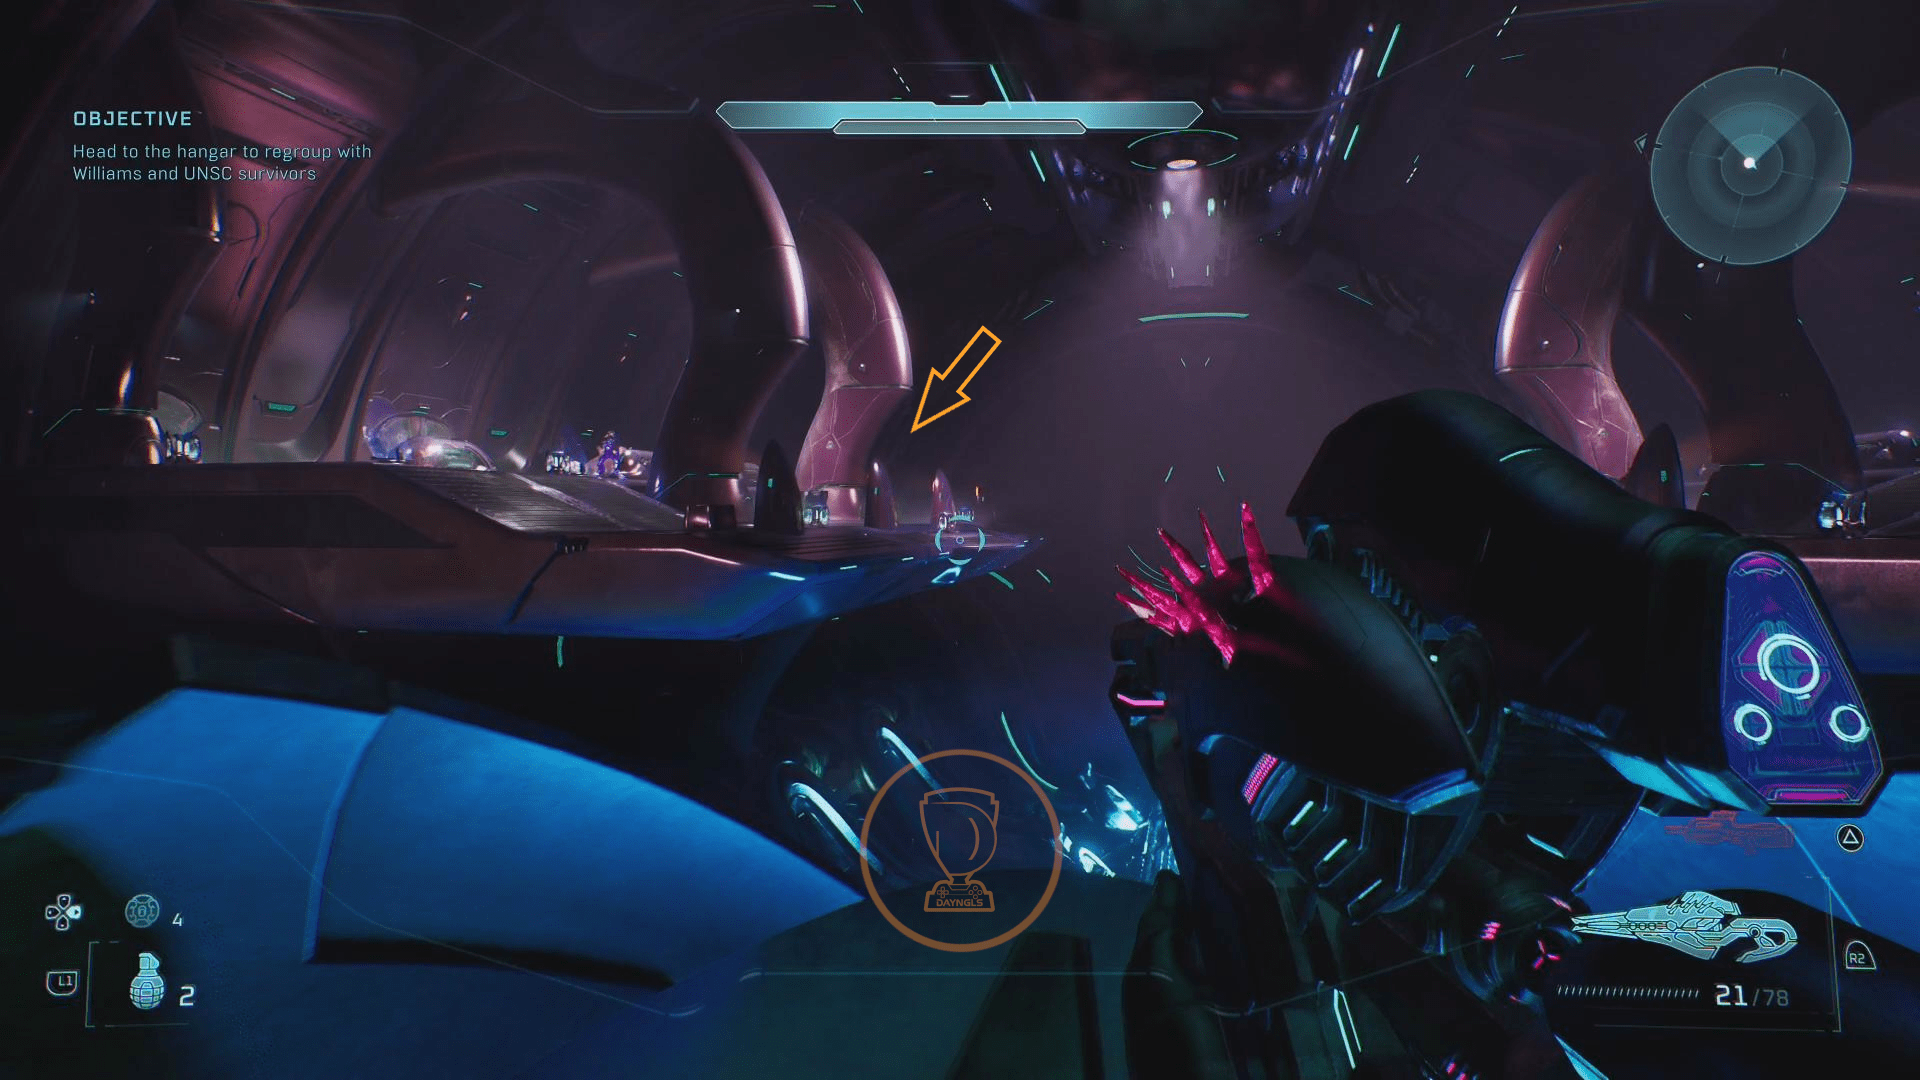
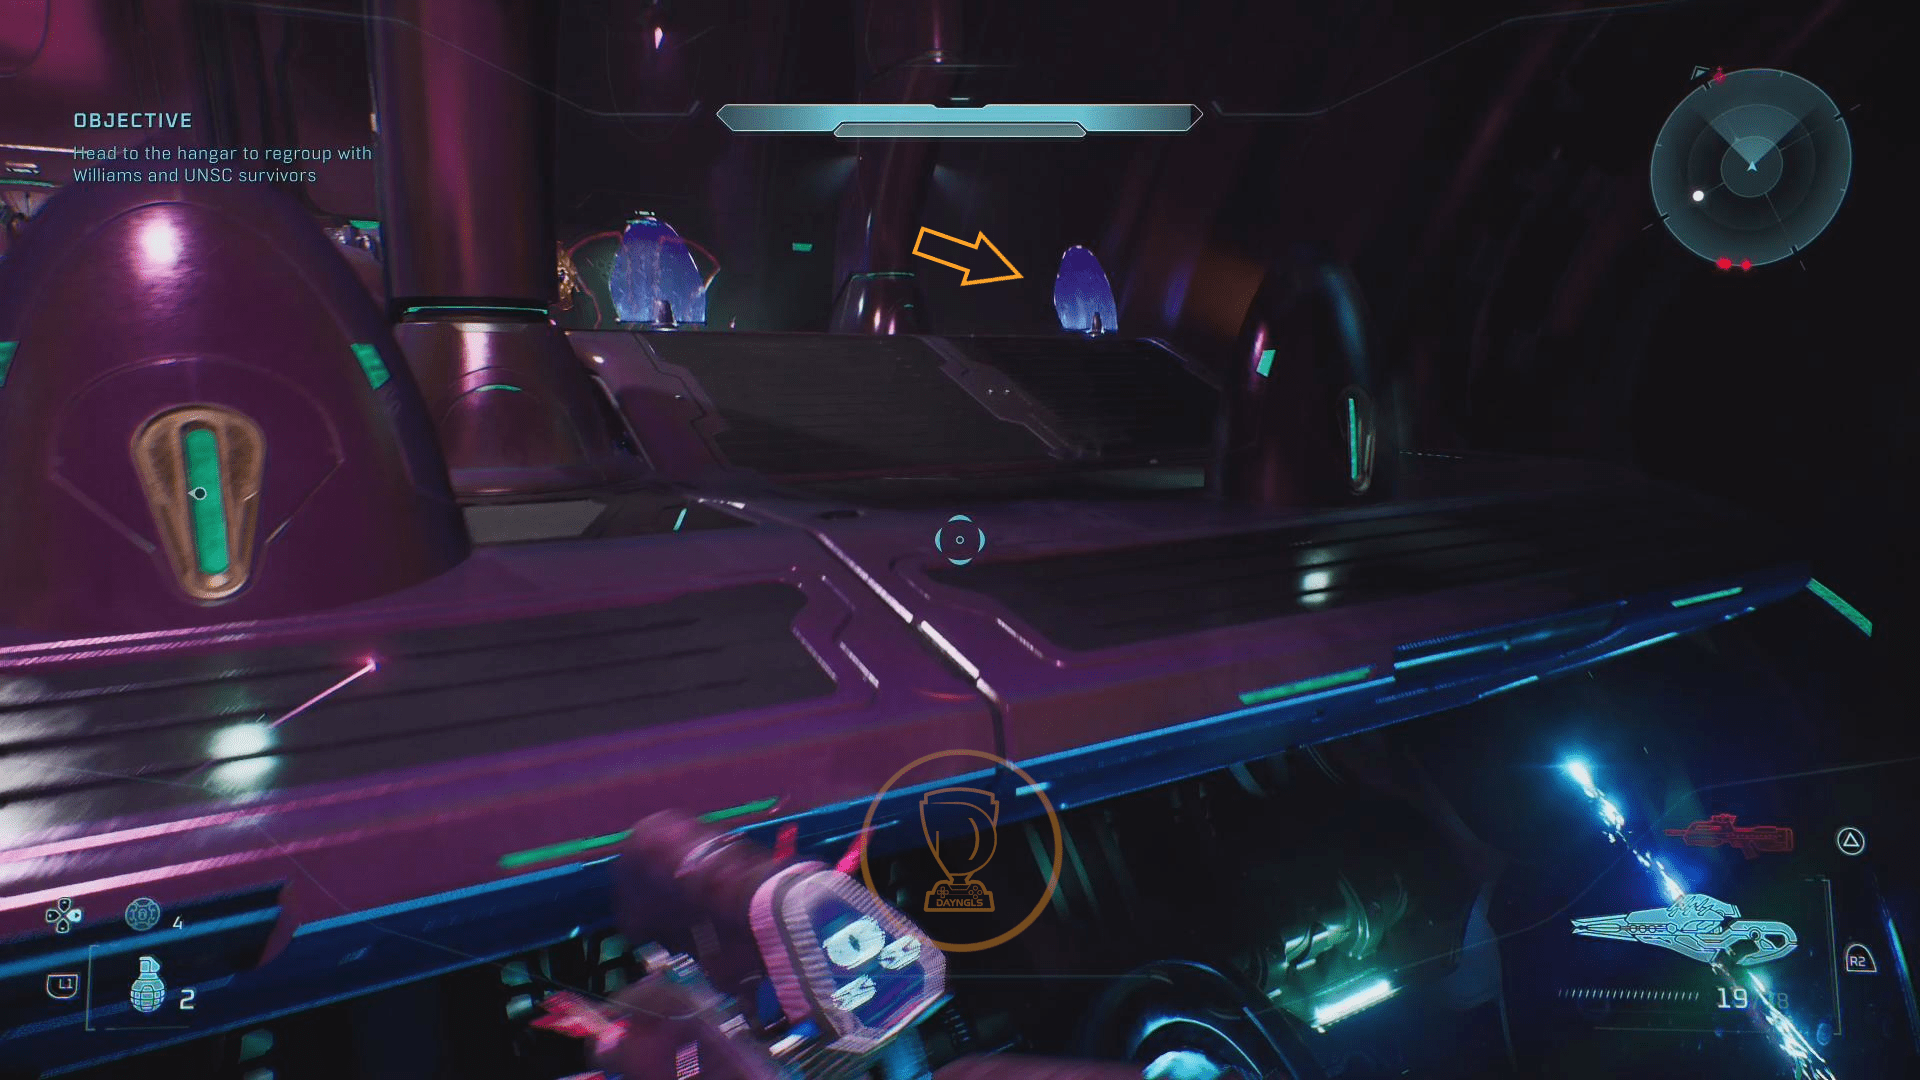
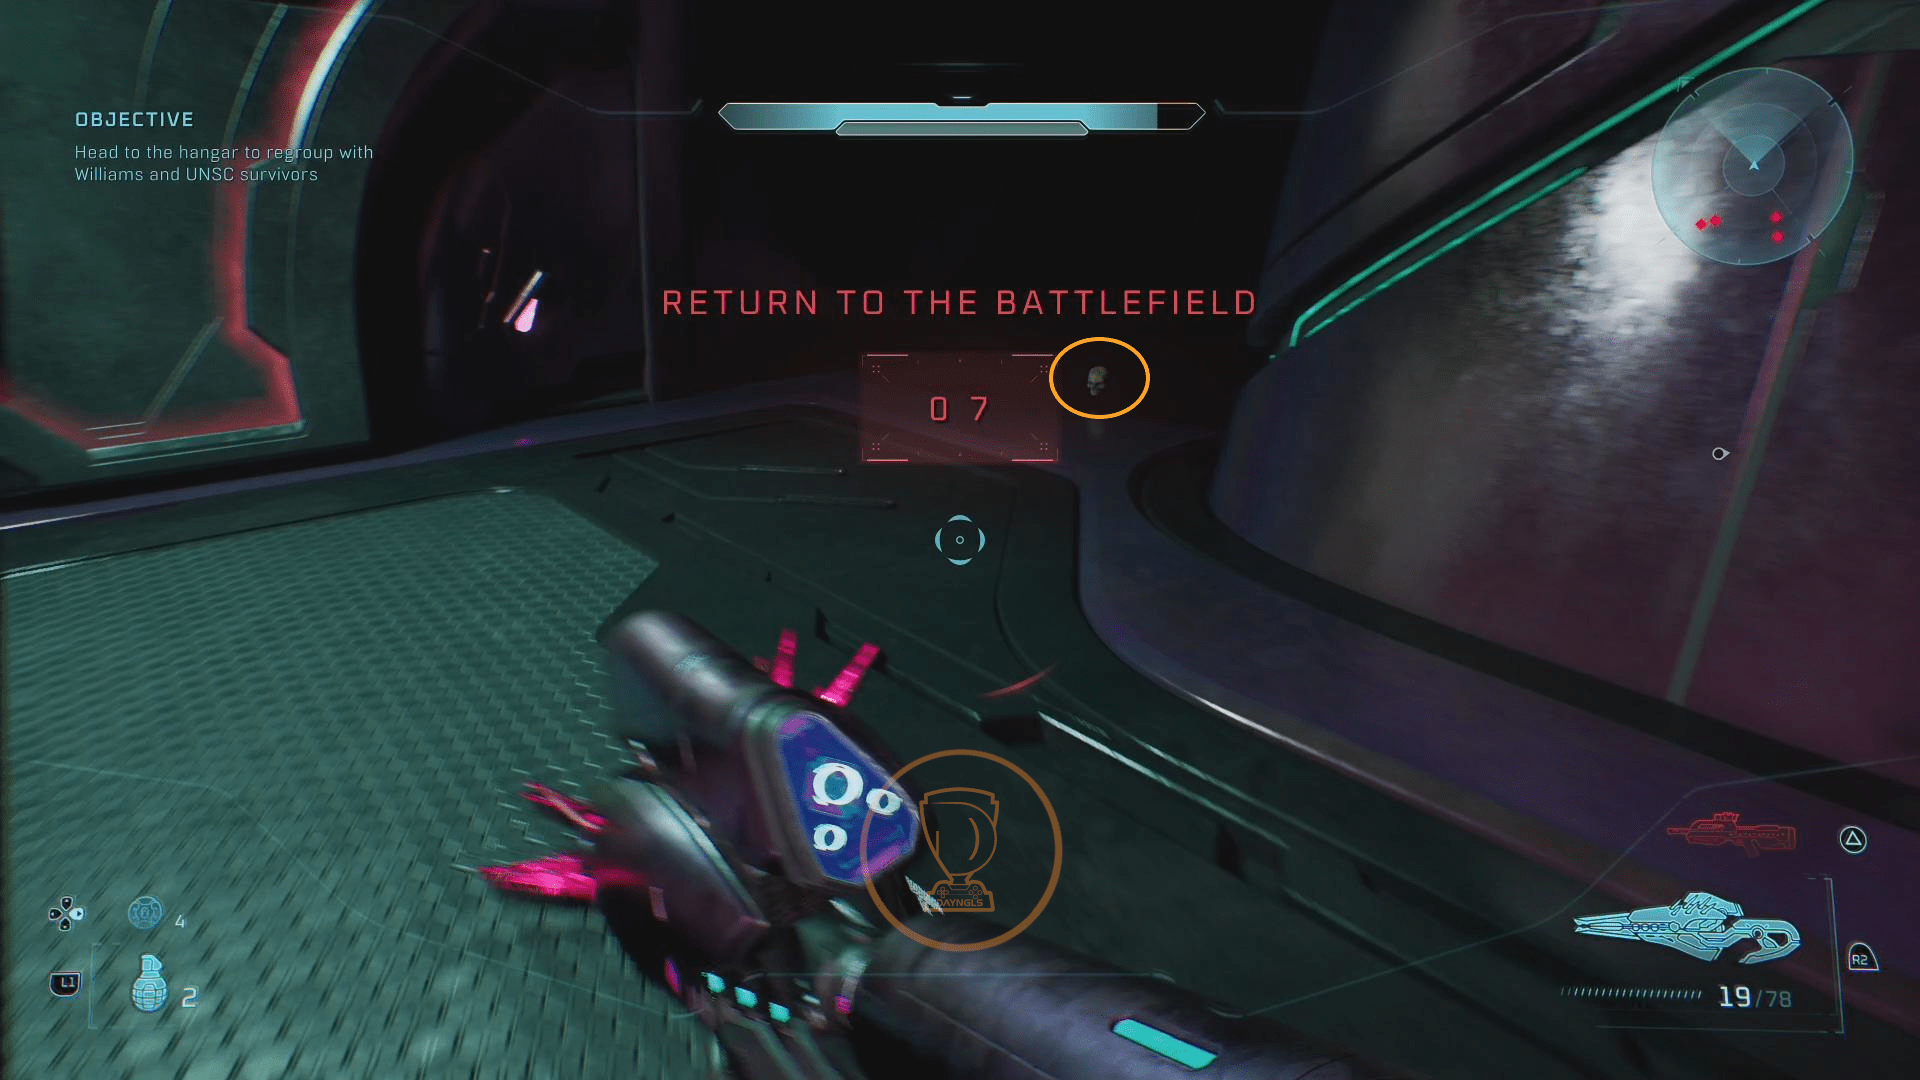
Make your way through the mission until you are on a floating platform that takes you through the area. At one point, you’ll need to get off the platform and power it back on. When you get back on, you’ll ride the platform through a room that has a bridge above you. This skull is in the next room. As you float just past the middle of the room, you’re going to need to jump off of the platform and on to the left side. You’ll only have 10 seconds to grab the skull, so don’t waste time fighting anyone. Just run straight to the back right corner and pick up the skull.
1 thought on “Halo: Campaign Evolved All Skulls & Terminals Locations Guide”